|
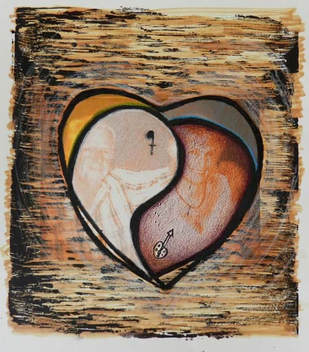
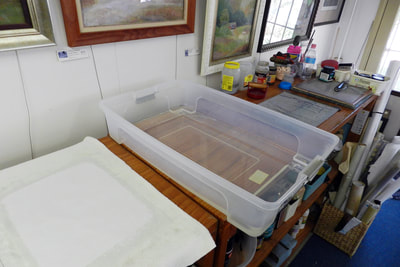
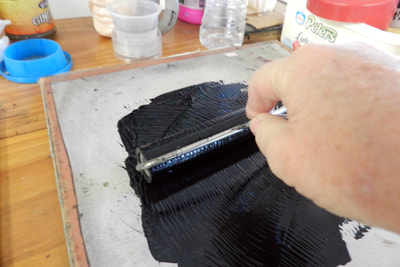
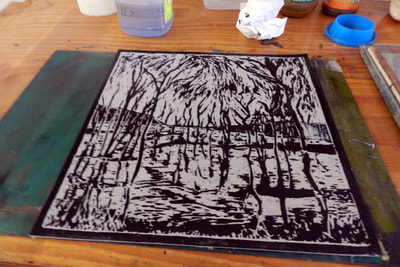
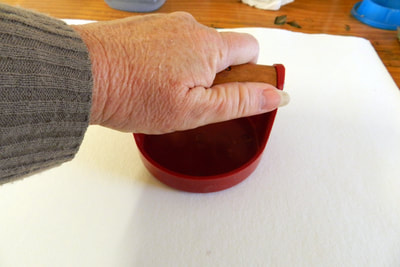
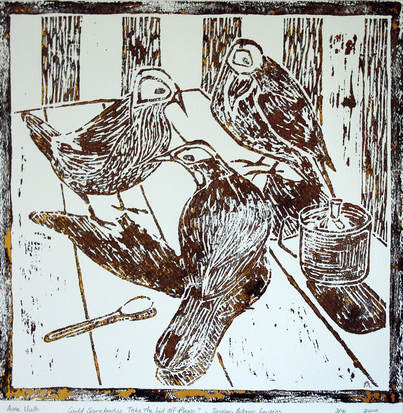
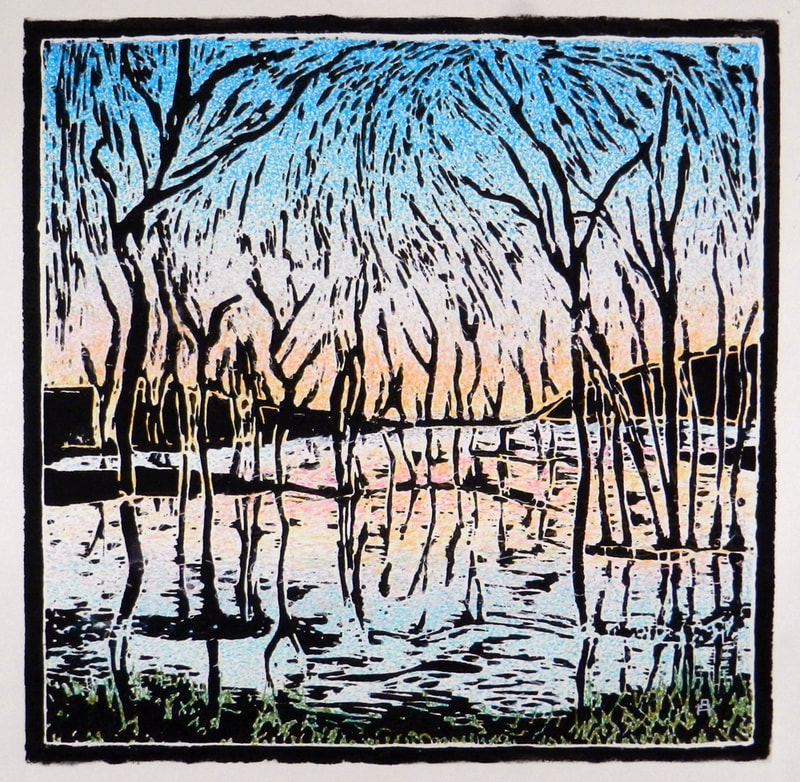
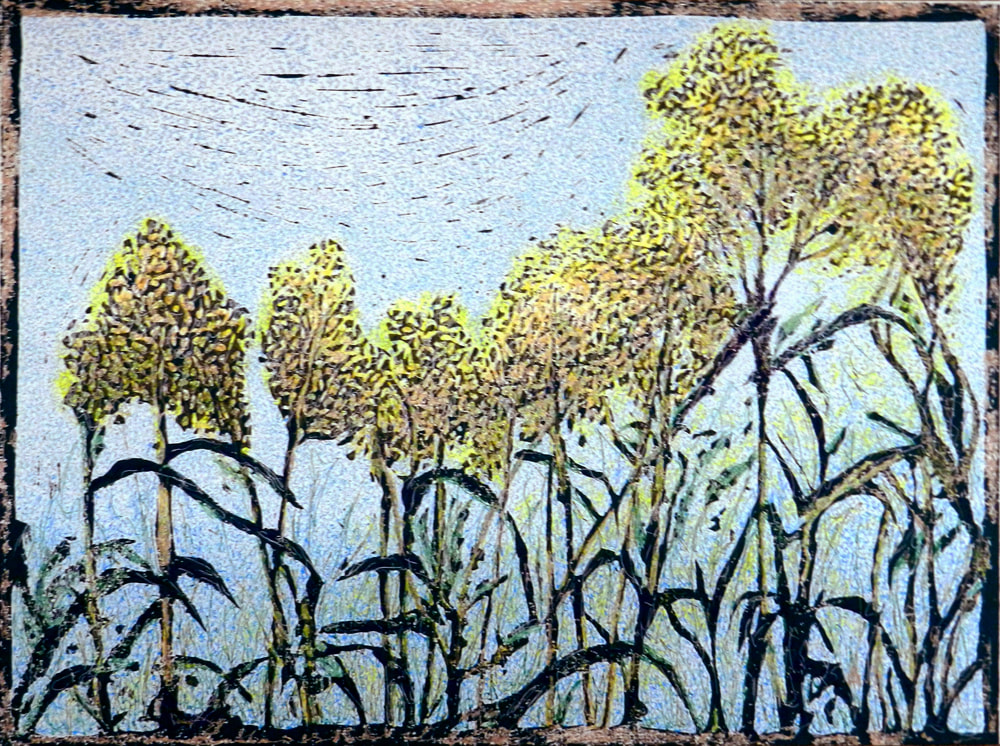
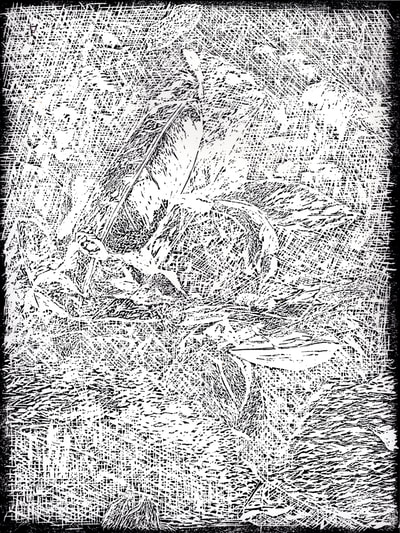
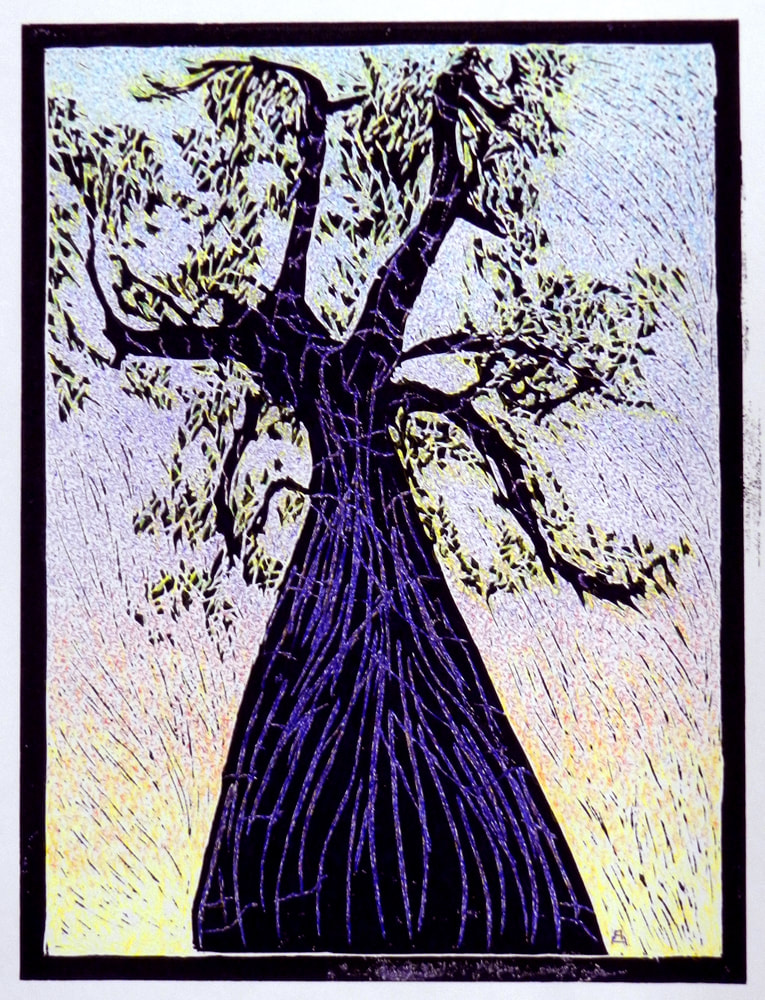
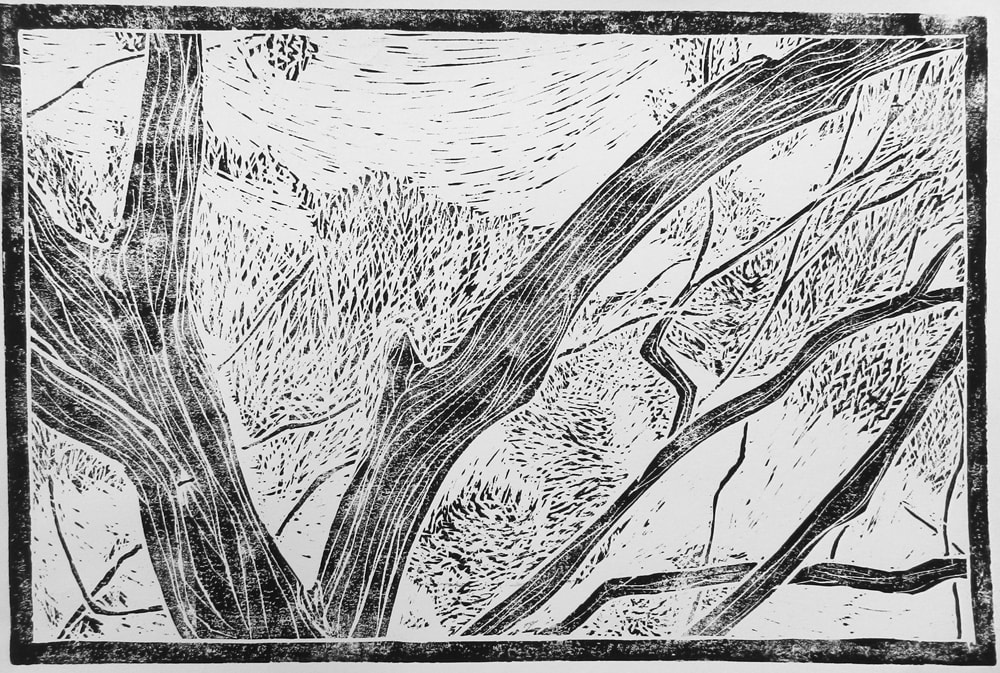
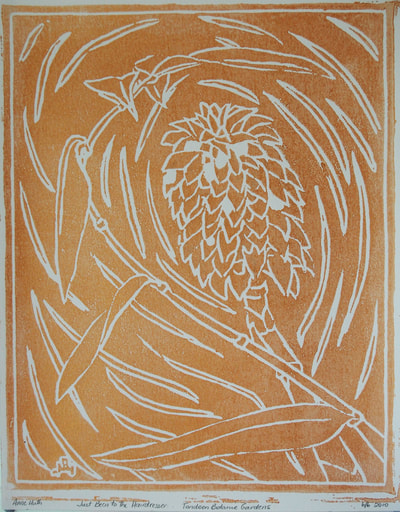
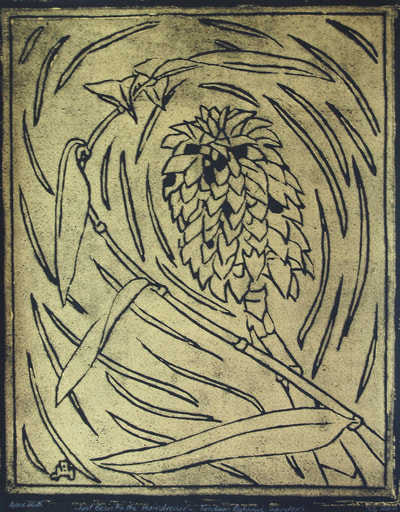
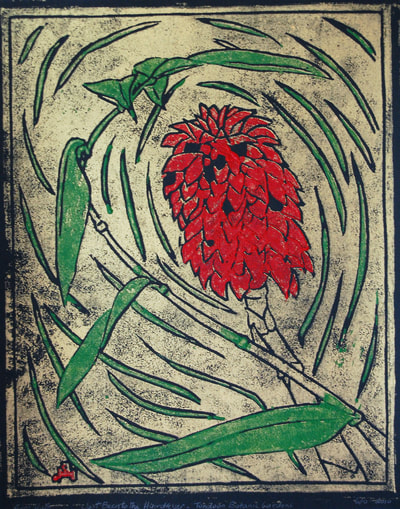
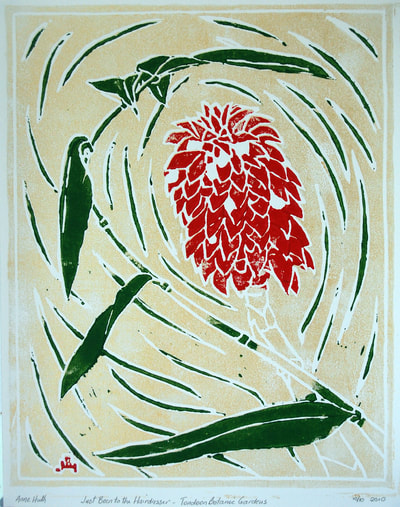
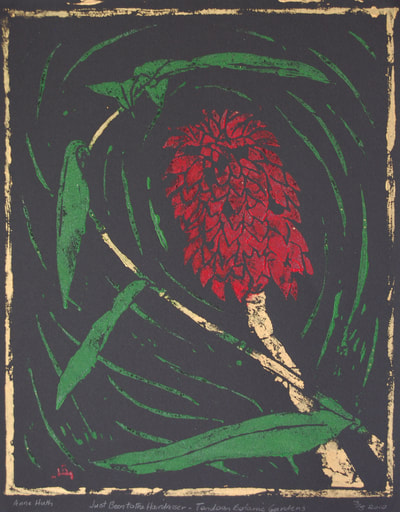
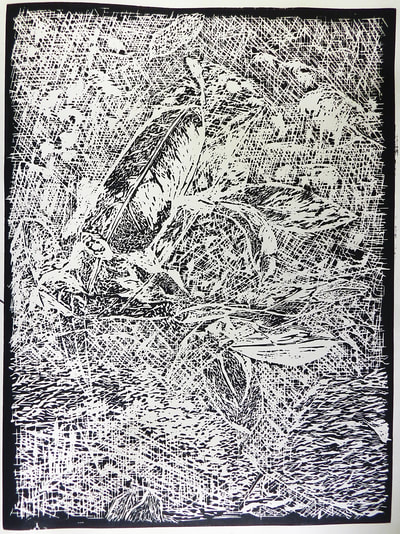
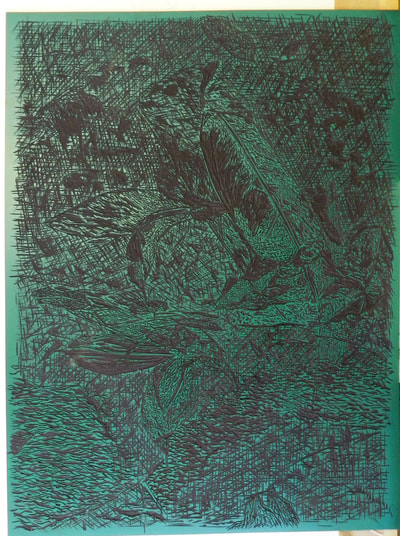
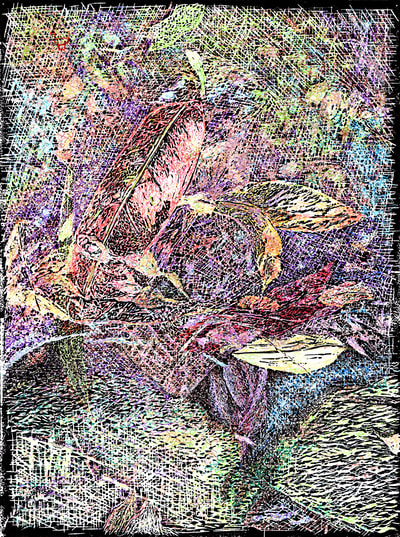
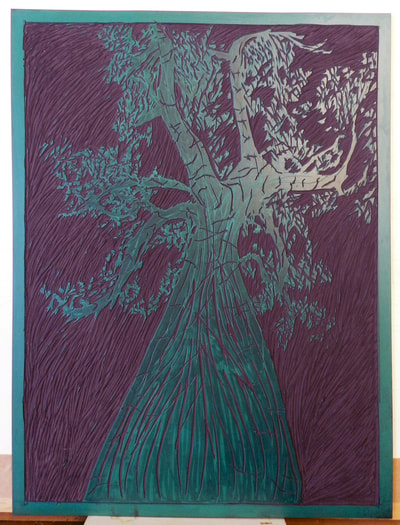
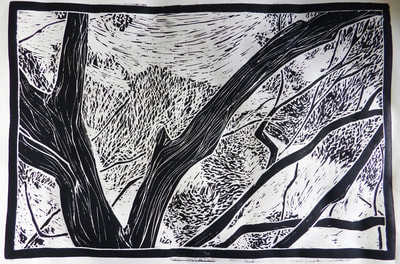
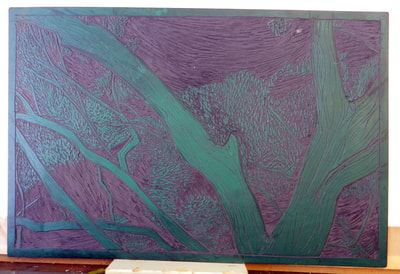
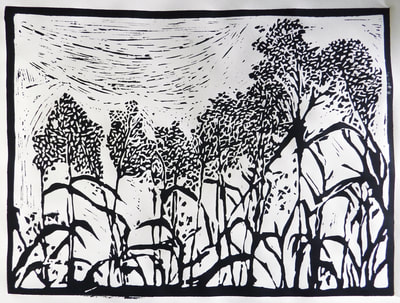
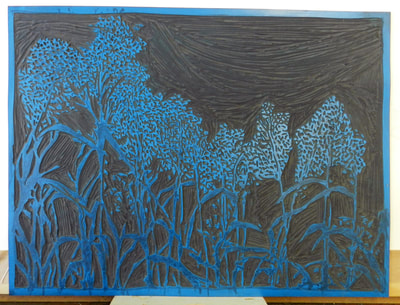
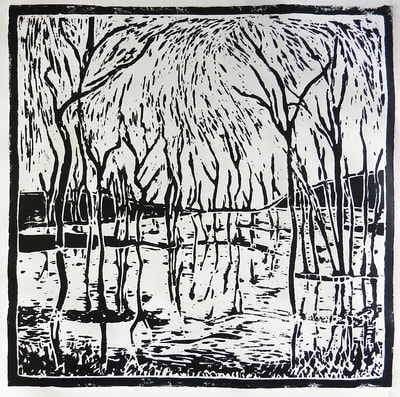
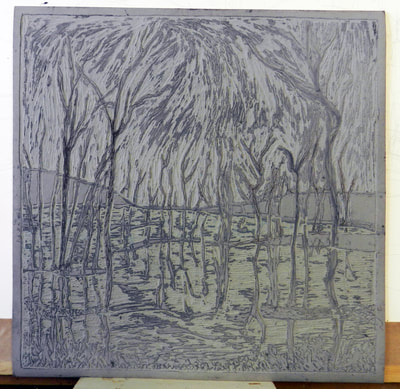
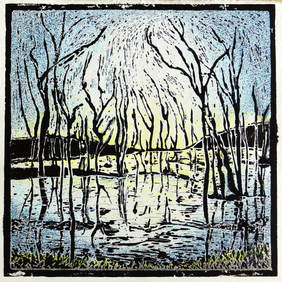
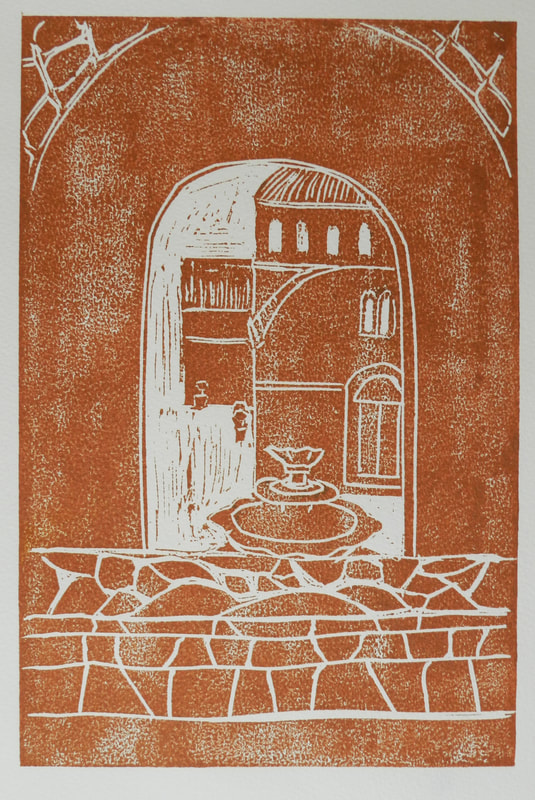
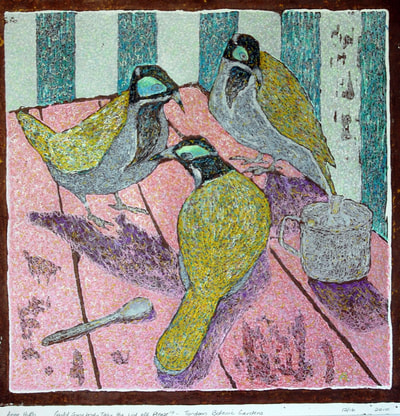
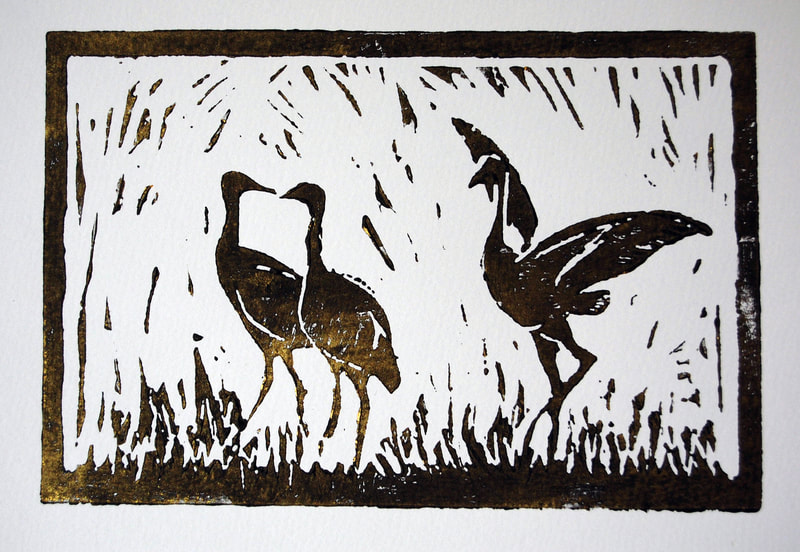
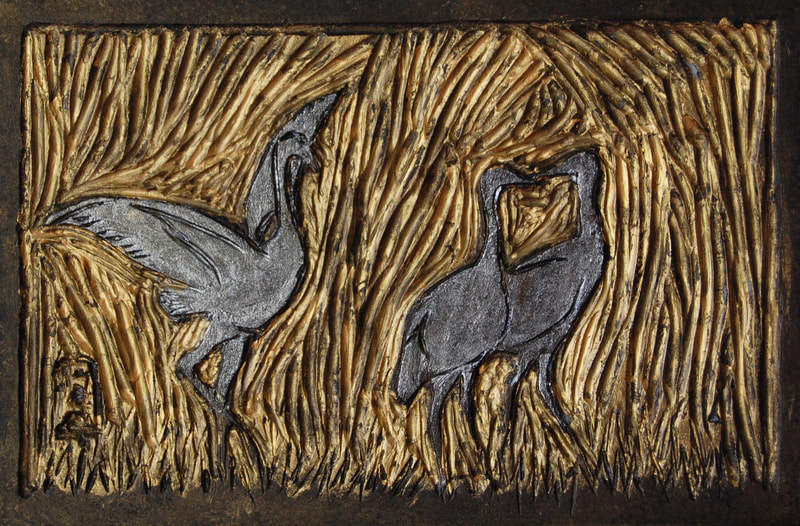
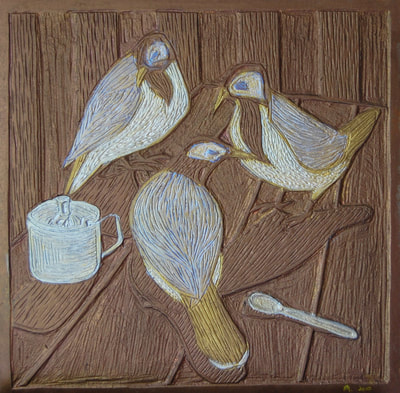
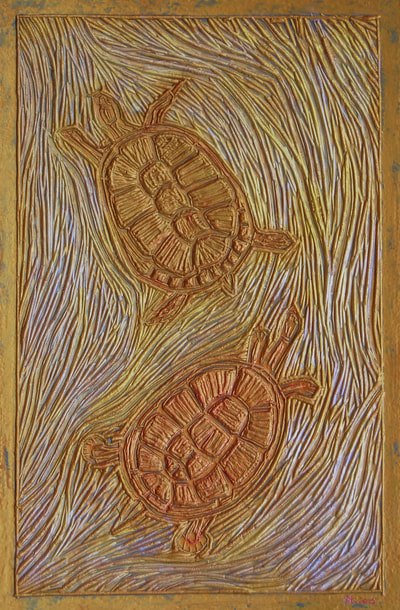
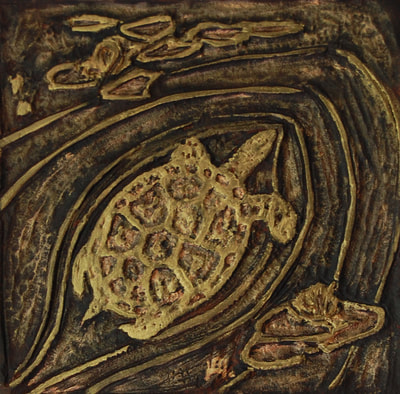
Ever since high school I have felt drawn to linocut printing. Somewhere, tucked away, I still have the cut lino from my high school days - although, I think it is now in two pieces. Over the years, I have made many lino prints even if it hasn't been the main focus of my artistic endeavours. Generally, I do a small print run (no more than 20 prints) then choose some for the addition of colour. Once all the printing is complete, I don't discard the lino. Actually, I usually love the linocut more than the resultant lino prints. I love the textural, bas relief quality of the cut lino and most times I paint the cut lino and add a frame. The cut lino becomes an artwork in its own right. A series that I have been working on is focussed on the natural environment -trees, grasses and other vegetation. So far, I have cut five linos as part of this series. The latest, which I have just finished, was drawn up ages ago (possibly a couple of years ago) and only cut into recently. None of the five linos had advanced past the test print stage. One had a couple of test prints to which I had added colour to include in a joint exhibition. I pulled a couple of test prints off the latest cut lino and coloured one of them. Often, the test prints are imperfect (well - more imperfect than my normal, allowable level of imperfections) and I find that it is the imperfect prints that become the best coloured versions. The challenge of meeting the imperfections head-on brings out greater creativity and originality. I like the imperfections of hand pulled prints - that is I don't use a printing press (even when I have had access to a press). After I have inked the linocut, I place my sheet of paper on top and burnish with a baren to transfer the ink to the paper. While I aim to keep imperfections to a minimum, I embrace those that occur. These imperfections add an extra level of intrigue that satisfies my personal taste. Sometimes, I use acrylic paint (instead of ink) with random touches of gold/silver/other colour to get 'surprise' results - see the accompanying print of blue-eyed honeyeaters. After checking all the test prints, I decided that three of them needed additional cutting. This was done and another series of test prints was pulled for each of the five linos - more stock for adding colour. I re-cut one of the linos again as it still wasn't printing the way I wanted it to, before taking a print of each on better paper - Hahnemuhle, Japon and Zerkall papers. These papers were soaked in water and dried with a soft towel to take away the wet sheen on the surface before pulling the prints. The three test prints that indicate that the linos need more cutting. The two test prints that are satisfactory - linos do not need more cutting. The resultant series is pleasing and I will eventually get around to running off additional prints (probably no more than about six of each) I will keep the best as pure prints and colour the rest. No rush yet - would like to do some more linocuts before I consider the series complete. I need to buy some more lino before I can go any further with the series. One of the lino prints was only designed to be coloured but I will keep a few as pure lino prints. All of this series is single cut and print. I previously tried a reduction print - interesting but too many thought processes involved. It is very easy to confuse myself. I might try again one day - you never know. The reduction print - first I cut around the edges of the forms (a ginger plant) and pulled a series of prints - then I removed the background area leaving the ginger flower, stem, leaves and some background shapes raised/uncut except for detailing - this was then overprinted on most of the first series of prints (I kept a few of the first series in original single print form). I carefully painted (rather than rolled) the green leaf colour and the red flower colour on the lino to be printed together - there was enough separation of the two colours not to require separate print sequences. One of the single pass prints was transformed with pigment ink ballpoint pens. Top row - prints from first cutting of lino - one on white paper and one on black paper Middle row - reduction prints - sequence of two prints on each - one on black paper and one on white paper (these prints are far from perfect) Bottom left - single print on black paper after second cutting of lino Bottom right - pigment ink, ballpoint pen on gold print on black paper - from first cutting of lino The current series - the prints on quality paper - still need to be flattened under some weights - the paper has buckled slightly from being wet. I have included an image of each of the linocuts. Lino 1. Leaves and other vegetation in a rocky stream - off Blackman's Gap Road between the Boyne Valley and Miriam Vale, CQ, Aus. This is the print designed to be coloured. The coloured prints from the original test printing. The left print is coloured with watercolour and the right print is coloured with pigment ink, ballpoint pens. Lino 2. Tree - somewhere in the Boyne Valley, CQ, Aus - can't remember where. Lino 3. Tree 2 - Norton Road, Nagoorin, Boyne Valley, CQ, Aus. Lino 4. Roadside grasses - Norton Road, Nagoorin, Boyne Valley, CQ, Aus. Lino 5. Dead trees in dam water - Awoonga Dam - from road crossing over the dam near Nellie Simpson Road - Gladstone Monto Road, CQ, Aus. Coloured test print - pigment ink, ballpoint pens. A selection of my other lino prints - including prints with added colour. A selection of painted, cut linos as artworks in their own right. Just like any artwork, the manner of working with linocut prints is not set in stone - enjoy the challenge of experimentation. Play with ink and various paints, make rubbings with charcoal, pencil etc. Add stuff to the resultant print - collage or interesting artifacts. Colour the prints - watercolour, coloured pencils, ballpoint pens etc. Cut up/ rip up failed prints to input into collages or even cover books with the prints. The possibilities are endless. Have fun with your creativity. Until next time Anne Psst: Don't forget to sign up for my newsletter - in the footer below.
|
Anne HuthI have had a lifetime passion for drawing and painting. Realistic with an impressionistic touch is an apt description for my work. Archives
August 2019
Previous Blogs
14/10/2018
Diary of a tired artist continued 3/7/2018
Blogging and other distractions! 02/06/2018
Who or what is your muse? 27/05/2018
Burntout? Lost the plot? Gripped by mental fatigue? 20/05/2018 Do you market your artwork online? 13/05/2018 Working towards my first workshop presentation. 03/05/2018 Do you want to draw but don't have any art materials? 28/04/2018 Drawing from photos versus drawing on location. 21/04/2018 Something different - Games of War - a project addressing war games & PTSD. 17/04/2018 A bit more about my drawings. 08/04/2018 Write a blog they say! |
