|
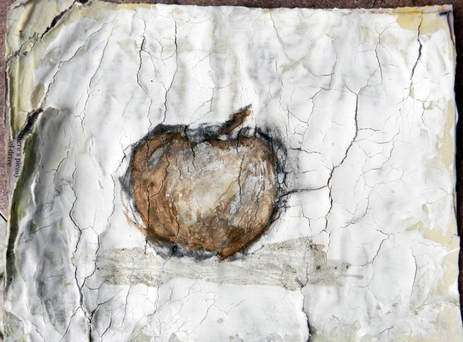
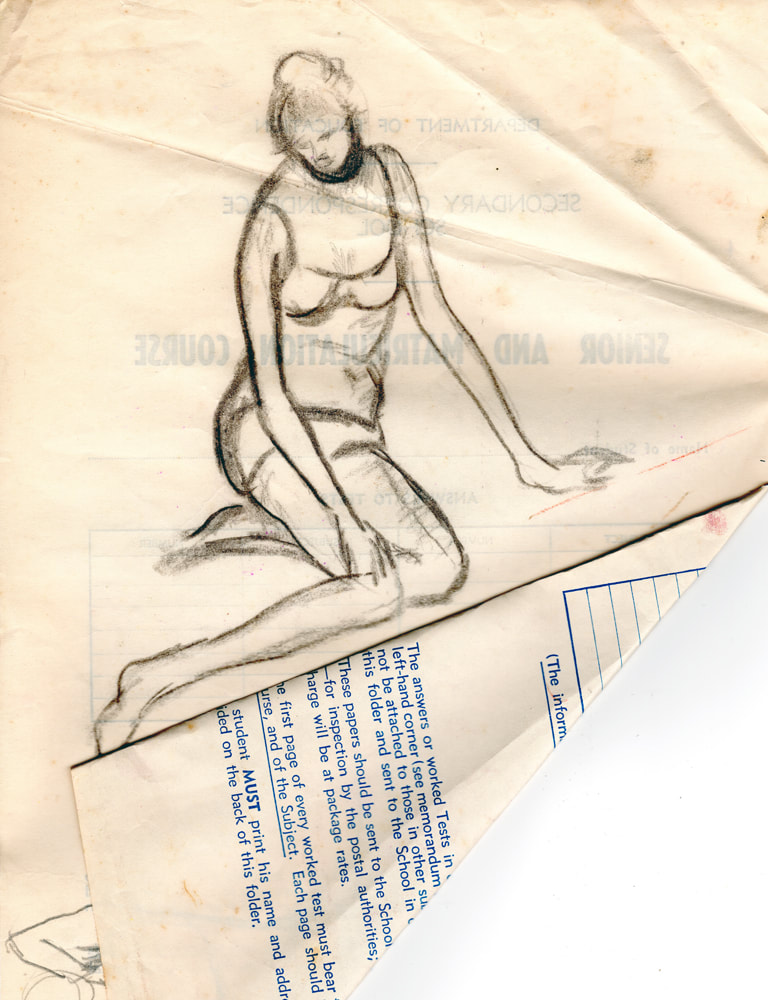
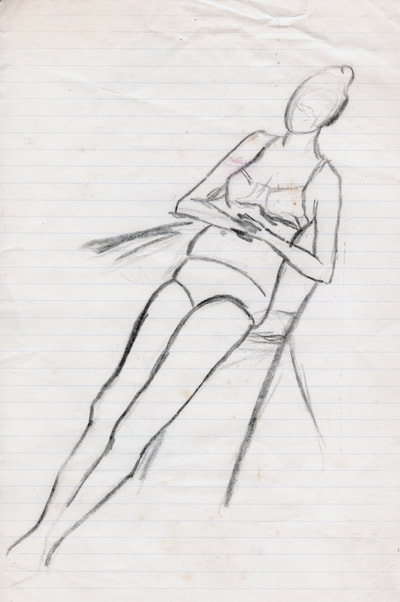
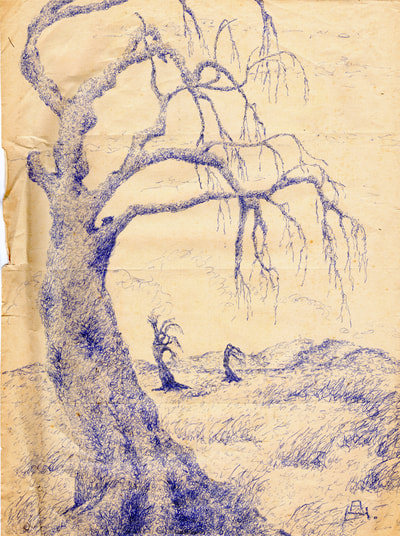
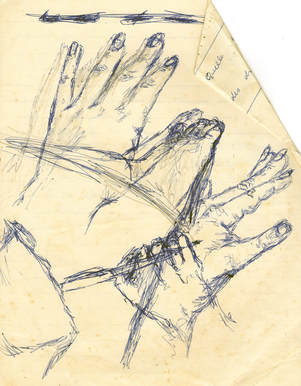
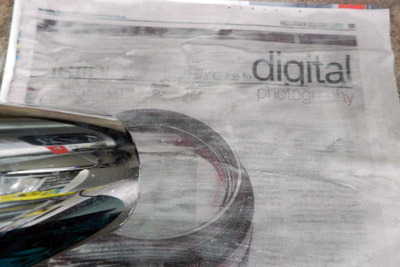
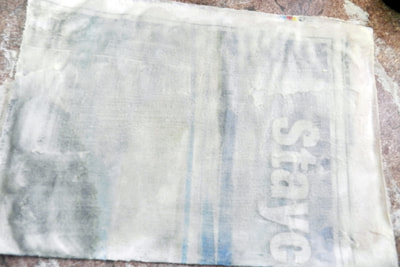
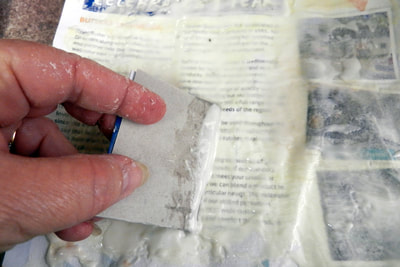
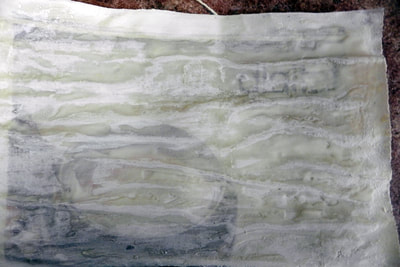
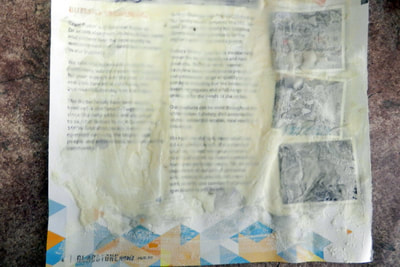
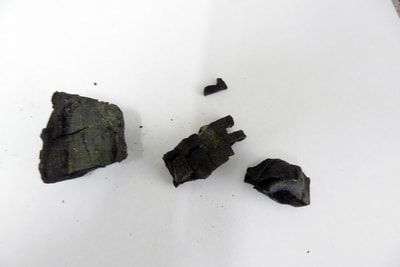
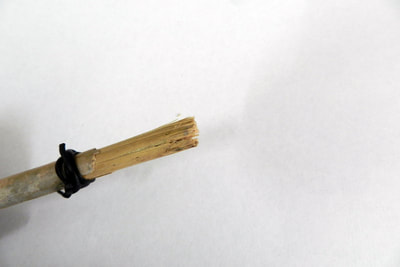
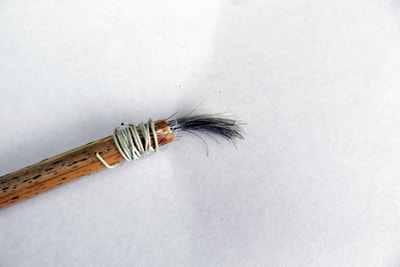
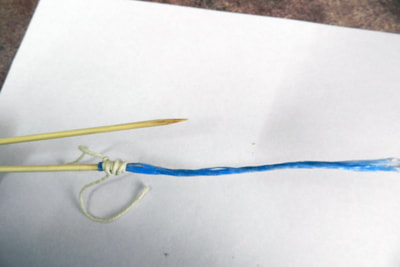
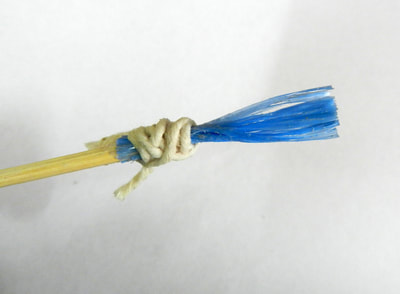
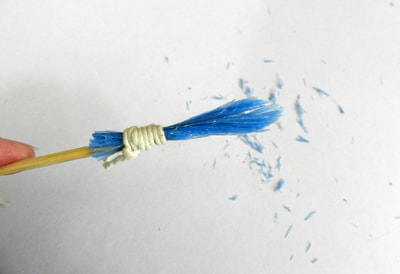
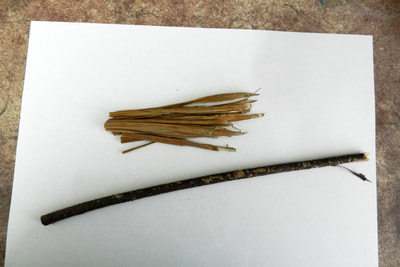
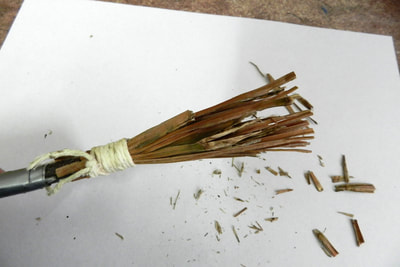
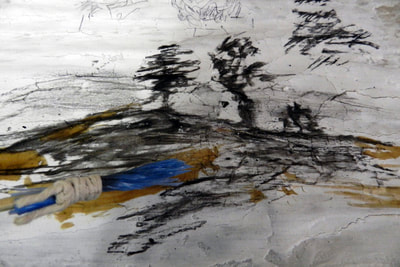
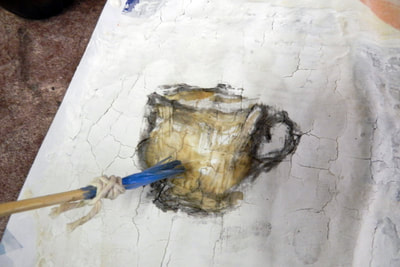
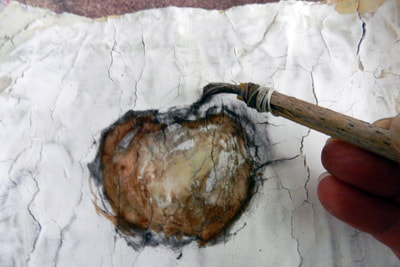
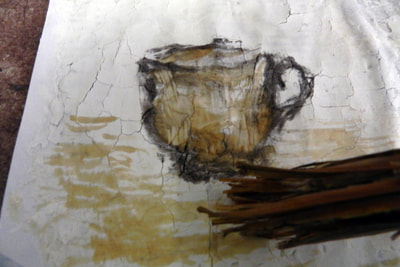
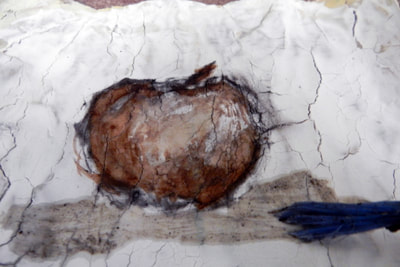
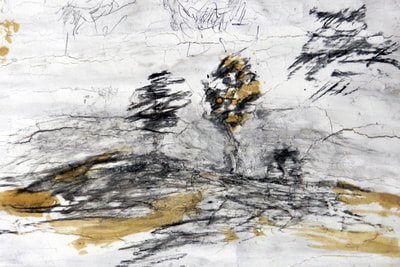
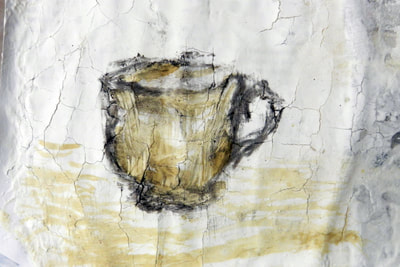
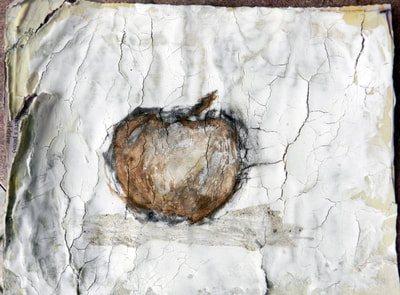
You've always wanted to draw or maybe you have children and they want to draw. The main problem holding you back is a lack of drawing materials and you can't afford to buy any (not even the cheap stuff). Possibly you don't have the confidence to start out with specialty materials or maybe you just want to experiment a bit first. What do you do to get started? There is no reason to be held back by lack of art materials. Most people have paper or cardboard of some description in the house (and I'm not meaning soft paper towel or toilet paper. While there are always exceptions, these products are too soft and delicate to use as practice, drawing supports.) Paper supplies can be photocopy paper including the opposite side of used paper, advertising leaflets with blank reverse sides, ruled notebooks, sides of cardboard boxes, the blank side of old calendars, printed paper painted white or a light colour, old envelopes plus many other options. Pencils and ballpoint pens (biros) are common in most households. As long as you have some paper and a pencil or biro (blue, black, red, whatever you have) you are set up for drawing. All you need to do is choose your subject matter and get started. You don't know how to draw - that's okay. Pick something simple - a piece of fruit - a small box - a cup (an actual object to place in front of you), then spend a fair bit of time looking at it. Pretend you are drawing around it with your finger (an air drawing). Look at the angles, curves, distances, light & shade rather than the object as a whole - i.e. forget that it is an apple - it is merely a relationship of shapes and angles etc that give it form. Once you start to understand the object you can begin to draw. Keep your eyes focused more on the object than on your drawing as you aim to replicate the relationships of form found within your object. The image on the left shows a pencil and charcoal drawing on a recycled piece of paper. This drawing was done when I was 16 and the paper is something from school. The middle image is pencil and charcoal drawing on lined foolscap paper ripped from one of my school notebooks - completed at same time as the drawing on left. These drawings were done at an art group that my grandmother took me to on a couple of occasions. I had no art supplies other than my school stuff which needed to be kept for school. The drawing on the right was done a few years later when I was married with a couple of toddlers. Art materials were not part of the budget. This drawing is about A3 size and was done with blue biro on butcher's paper. Don't give up because your first drawing isn't a 'masterpiece' and don't be precious about your drawing. It can be drawn over, erased and re-drawn numerous times while trying to replicate the subject's form. When a piece of paper or part of the paper is exhausted from re-working move onto another piece or section of paper and start again. Practice is paramount. Find lessons where you can - on the internet - free community lessons - talking to other artists - books/ videos at the library - until you can afford lessons. Lack of proper materials or money for lessons should not be allowed to get in the way of you achieving your goal - learning to draw. Another drawing from my school days. It is on lined note book paper - on the back of a French lesson. I was often in trouble for drawing in class. I have included this one to show the constant re-working and drawing over the top of other stuff. As I said no practice drawings are 'precious'. Gee, I mucked up that hand holding the pen, didn't I? That was another student sitting in front of me. Now, let us have a bit fun. We will imagine that there is no suitable paper in the house, nor anything with which to draw. What are we going to do now? Let us find an old newspaper (or maybe get one of those free ones found at most stores) or an old magazine (or marketing brochure). The first problem we need to deal with is obliterating any distracting print and photos from the paper. At this point, I am now going to experiment with stuff I find in my own house. I have flour in the pantry so I make a flour and water slurry just thin enough to be easily spreadable. A quick look around and I find a small, old paint brush (for house painting) so I start off by spreading a thin layer of flour mix on my paper and overlaying some more paper. I do this a couple more times - let dry or use hairdryer. This flour mix acts as glue and the layered paper is stronger than a single sheet of newspaper. Magazine paper may be strong enough to use a single layer. Once the layered paper is dry, start spreading flour slurry over the top surface. You might prefer to use a spatula or piece of cardboard or plastic (cut from a take-away container or similar) to spread the flour 'paint'. I changed over to a piece of cardboard. Spread a couple of layers of 'paint' and then let dry or use hairdryer. Keep layering and drying until you have a good cover on the paper. It will still be slightly transparent after quite a few layers. For the final layers I changed to cornflour (wheaten cornflour because that is what I found in my pantry) for its extra whiteness. I made sure that the surface was completely dry before applying the final layers of cornflour mix. I added about four layers, drying after each two layers. Finally, I had good white coverage. Now, it needed to be left to dry thoroughly. Three supports being prepared. Early layers. The image on the left shows the newspaper support being dried with a hairdryer. The middle image shows a single layer of thick magazine paper with a couple of coats of flour slurry. The shiny paper is more difficult to cover. The right image shows a smaller, layered newspaper support. I wanted more support space for experimenting. Left Image: my cardboard spreader. Middle image: one of my newspaper layers ready for the final coats. Right image: the single sheet magazine paper ready for its final coats. Final coats completed, dried and cracked. It was time to find some charcoal. I thought I had some natural charcoal in my studio but couldn't find any. Because I live in a rural area, I was able to source some charcoal from a burnt log near to my home. Other places to look include fireplaces, fire pits, BBQs - anywhere that wood is burnt. Use commercial stuff if you have it on hand and can't find any naturally occurring charcoal. Then I decided that I could use coffee, tea, cocoa and dirt as wet, drawing media. That was easy enough to organise but I would need something with which to spread these media. Charcoal and wet mixes - tea, top left - cocoa, top right - coffee, bottom right - dirt, bottom left. As this was an experiment using only stuff sourced from around or near my home I needed to figure out how to make some simple brushes. I looked around my home and came up with a few options - my own hair - some polypropylene baling twine (from some hay that I had put on my garden) - palm leaves and tiger grass stalk (like fine bamboo). To start with I broke a piece from the tiger grass stalk and cut into one end to form multiple fine parts (unsuccessful). Then I cut into the other end and inserted a small bundle of my hair with the help of PVA glue. This was bound tightly with cotton twine. Left: the unsuccessful cutting into the end of the tiger grass - stayed too stiff. Right: my hair inserted into the other end of the tiger grass. Next I attached a piece of poly twine to the sharp end of a bamboo skewer with glue and bound with cotton twine. I cut the poly twine to the desired length and splayed the end. This looked good so I made a second poly brush using two pieces of poly twine attached to a skewer and splayed. I shaped this brush to a point by cutting it at angles. Left: making the polypropylene brushes Middle: the first brush Right : the second brush For a handle for the palm fronds I found a strong, thick twig in my garden. I trimmed some ends from the dry fronds and strapped these onto the twig with the help of glue and then trimmed the rough brush to size. Note: I actually broke the twig (it wasn't as strong as I thought) while binding the bits of frond so I repaired it with tape. Left: twig and bits of dry palm frond Right: palm frond brush Now, I had my support (the treated newspaper), my media (charcoal and coffee, tea, cocoa and dirt mixed with a small amount of water) and my brushes ready for testing. At this point, I should note that none of this is archival - a masterpiece won't last for long. When I checked that my newspaper support was dry, I found it had crazy cracks all over it which I chose to ignore. From this point everything was straight forward. I tested a graphite pencil and a biro on the surface - the pencil was okay but the biro started to clog. Then I made some rough drawings with the natural charcoal. The surface took this well. I had prepared 3 paper supports to work on so that I had space to play. After I had established the charcoal drawings, I used the homemade brushes to apply the wet mixes to add some colour and tone to the drawings. See the photos to follow this process. Quick charcoal drawings completed. Left: adding coffee with the shaped poly brush Middle: adding tea with the straight poly brush Right: adding cocoa with the hair brush (this brush was really soft) Left: softening and spreading the background charcoal with the straight poly brush loaded with water Middle: adding a surface under the cup - tea spread with the palm frond brush Right adding a surface under the apple - wet dirt spread with the shaped poly brush All done - a really interesting experiment - love the end results. Would I do it again? Probably not but the results were interesting and the experiment was fun. As the end product is not archival it could be considered an ephemeral (fleeting, transient) artwork or a photographic record could be the final artwork.
Anyway, after diverting and having a bit of fun with an experiment let me just say - if you want to draw you will find the resources, regardless how insignificant they seem, to make it happen. Until next time Anne PS: Sign up for my newsletter and you will receive a link to a video about an artist who uses unusual materials. Comments are closed.
|
Anne HuthI have had a lifetime passion for drawing and painting. Realistic with an impressionistic touch is an apt description for my work. Archives
August 2019
Previous Blogs
14/10/2018
Diary of a tired artist continued 3/7/2018
Blogging and other distractions! 02/06/2018
Who or what is your muse? 27/05/2018
Burntout? Lost the plot? Gripped by mental fatigue? 20/05/2018 Do you market your artwork online? 13/05/2018 Working towards my first workshop presentation. 03/05/2018 Do you want to draw but don't have any art materials? 28/04/2018 Drawing from photos versus drawing on location. 21/04/2018 Something different - Games of War - a project addressing war games & PTSD. 17/04/2018 A bit more about my drawings. 08/04/2018 Write a blog they say! |
